Scheduled Publishing
Context
The ability to publish content at specific times is a common requirement that Sitecore supports with multiple solutions. In the simplest case, starting the process at a scheduled time is sufficient.
The provided code is intended as a guideline and must be tailored to suit your specific implementation requirements. Please ensure thorough end-to-end testing is conducted to validate its functionality and performance in your environment.
Execution
Date and Time personalization conditions are a simple approach to manage the display of content at specific dates/times. By setting up rules that check the current date or time, you can control when specific content appears on the page without needing to trigger a publish. This is especially useful for seasonal content, or phased announcements, where visibility - not content state - is what matters.
Content availability through date/time conditions
In this tactical solution, it’s not the act of publishing the content that makes it available, rather we create page variant(s) that have the content changes we wish to be visible as the published version.
For most cases, schedule publishing availability of a page via versions should cover your requirements - review the Schedule publishing availability of a page documentation for further detail.
Leveraging Personalization, we can create a condition that specifies that the version of the page is only visible after the specific date that it is required. Make sure that workflow is setup to handle the different states of the content.
Assuming that we create the content ahead of time and ensure that publishing has happened, we can be sure that after the specified date the correct content will be visible immediately with minimal latency. Since all the personalisation variants are all available on the Edge it’s simply a case of the personalisation middleware gating the content according to whether the personalisation condition is satisfied. This will work for both Static Site Generation (SSG) and Server-Side Rendering (SSR) rendering methods - review the Prerendering methods and data fetching strategies in JSS Next.js apps documentation for further information.
Setup Steps
1. Map out the publishing content flow - this can be useful to understand and communicate all the steps with your business users. Use the tool of your choice as per your organisation e.g Miro and ensure that the workflow is setup to handle the different states of the content.
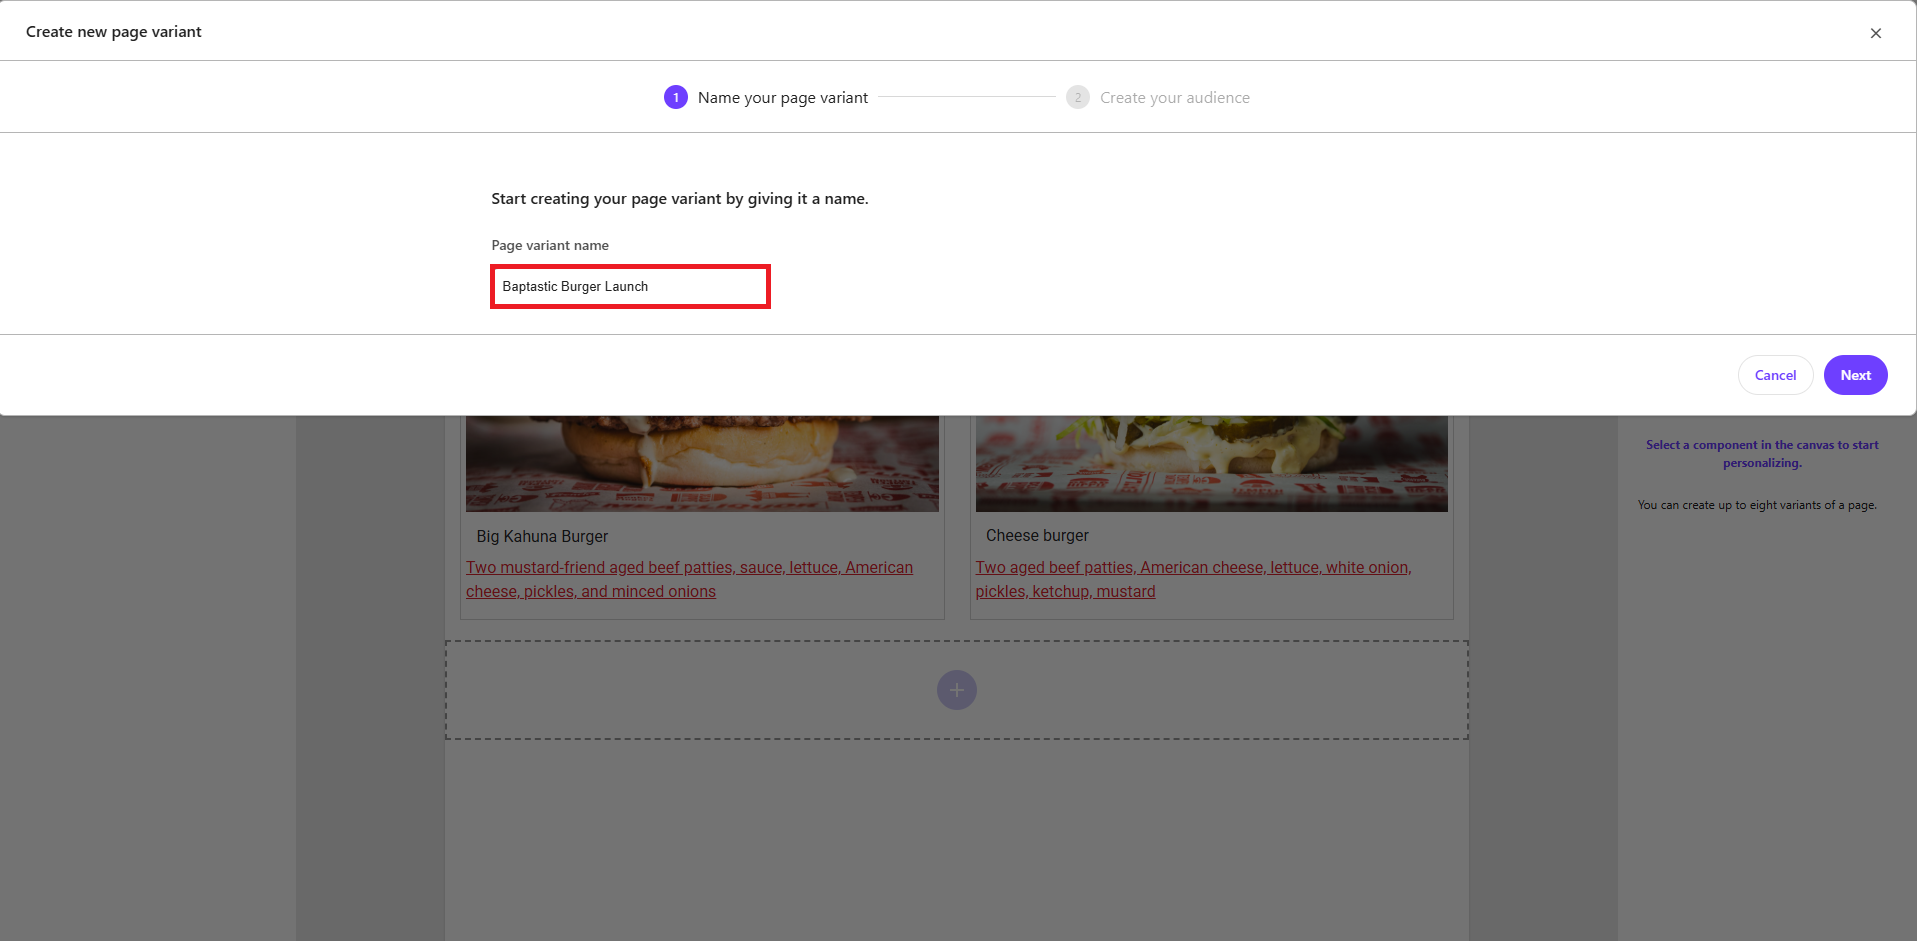
2. Create personalisation variant in XM Cloud Pages -
3. Specify Personalisation condition - specify the date and time after which you wish the new content to “go live“:
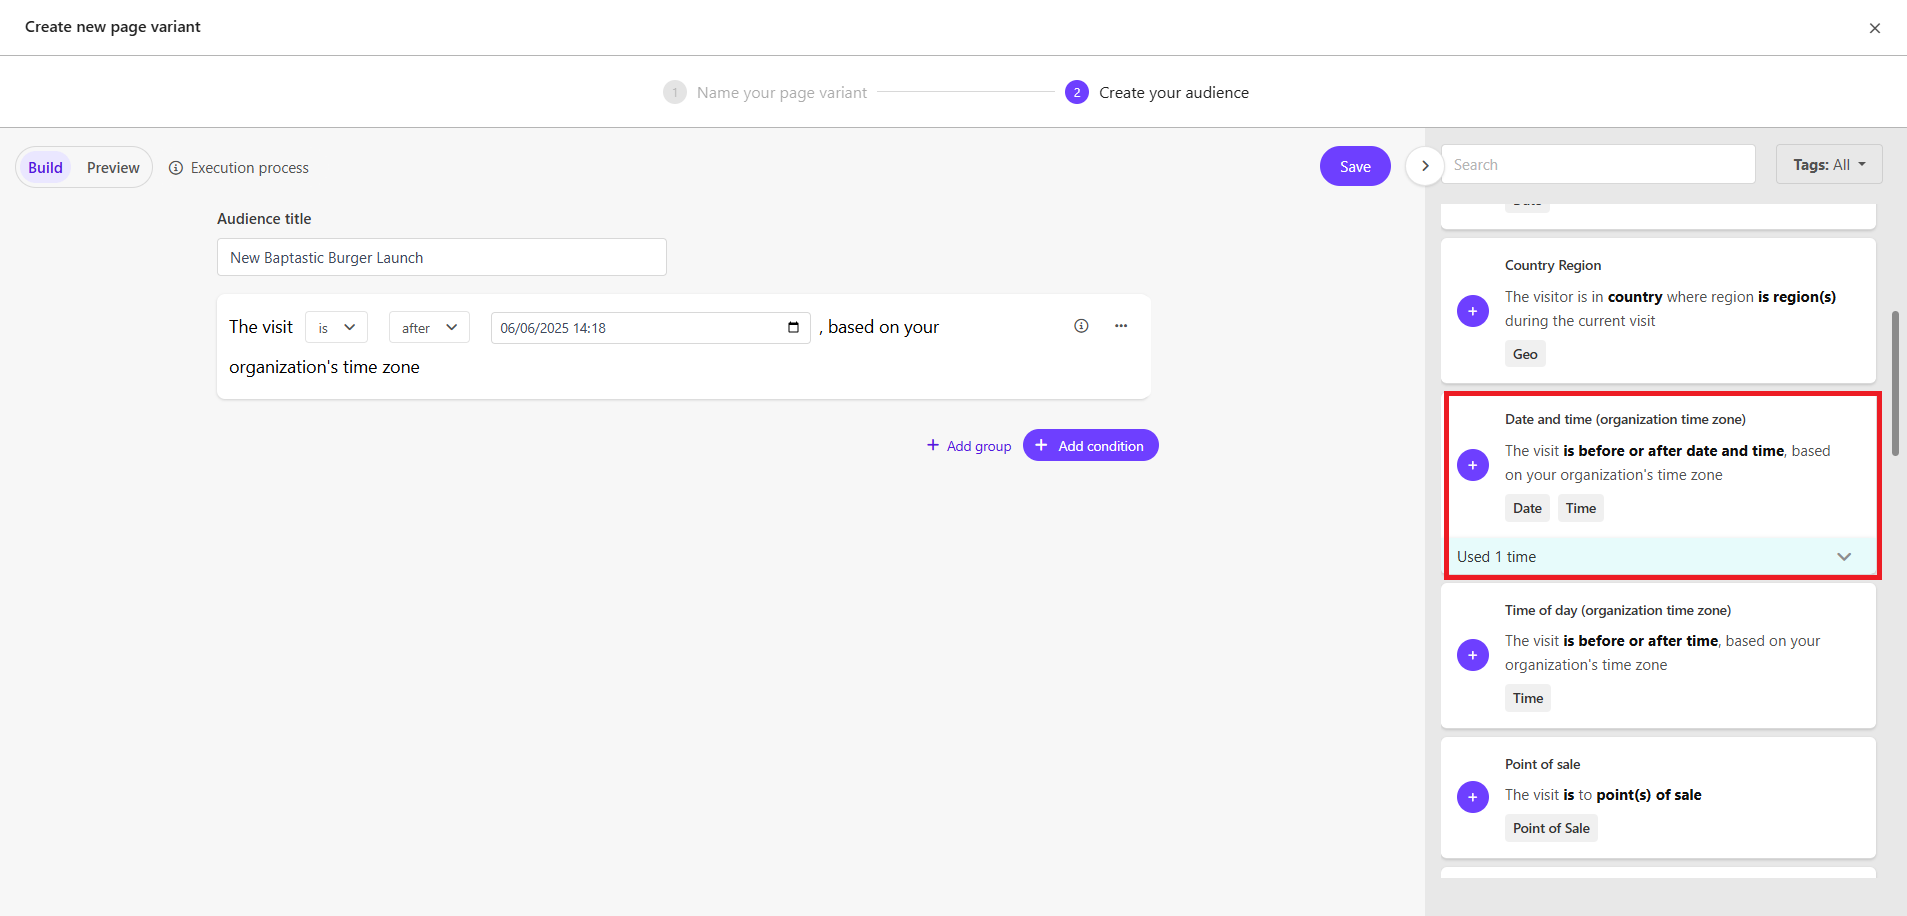
When creating multiple date/time conditions (or where the content is subject to an expiry date) you may wish to specify an end conditions, “the visit is before".

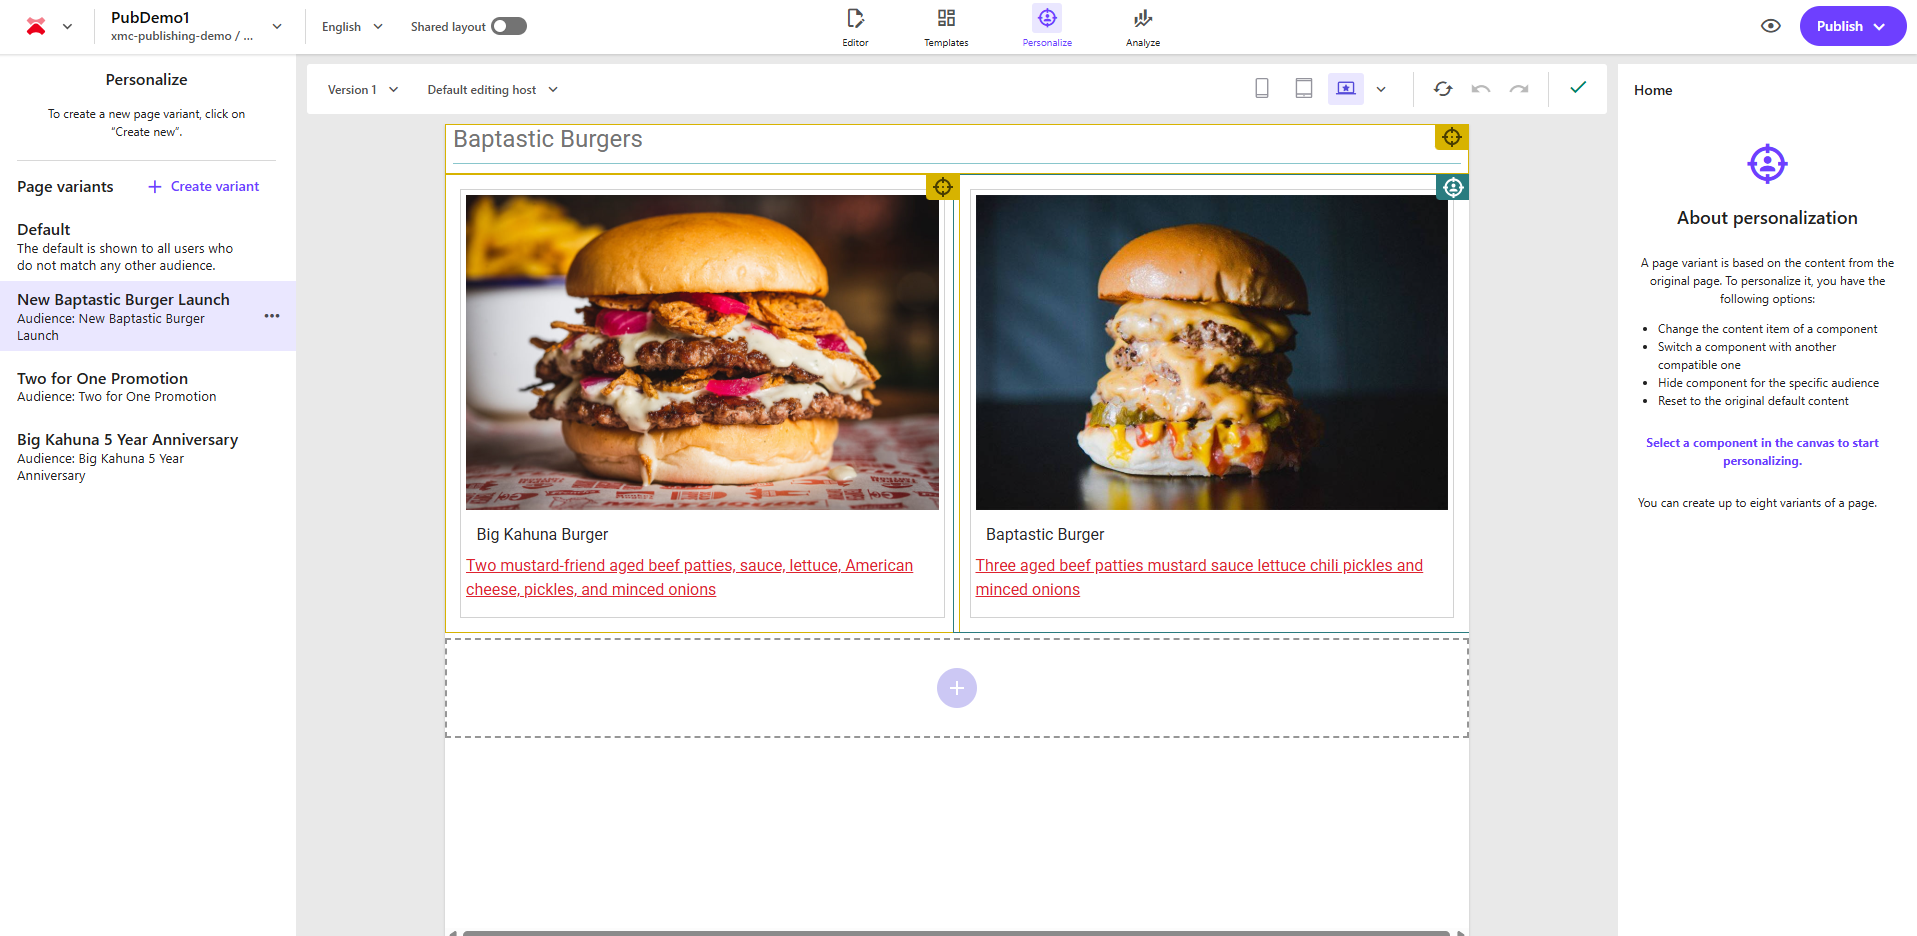
4. Specify Personalisation variant - Amend the content for your time-sensitive version
5. Save, publish and deploy - Publish all the content changes around the personalisation and page variants and where using SSG you would also generate and redeploy your static content.
If timeouts are encountered around the personalisation variant display processing, then it may be necessary to increase the values of PERSONALIZE_MIDDLEWARE_CDP_TIMEOUT and/or PERSONALIZE_MIDDLEWARE_EDGE_TIMEOUT environment variables - review the Troubleshooting personalization and tracking events documentation for further detail.
Multi-app, time-sensitive content
In other requirements, the completion of the process and availability of content across different applications at specific times is the driving factor. For these scenarios where content must be published at a specific time, with a guarantee around that in terms of precision timing, latency might be a blocker from using the Embedded Personalization.
This recipe is focused around the pure content publishing aspect, leveraging on-demand republishing is available in the Incremental Static Regeneration (ISR) recipe.
Although it’s possible to use the Sitecore Task Scheduler to implement scheduled publishing in XM Cloud, since task schedules are based on interval execution it’s impossible to schedule a task to execute at a specific hour, minute or second value.
Instead, we would advise to leverage a standalone third party scheduler that is decoupled from the Sitecore instance, preferably one that also supports Cron syntax (given that this is a well established standard for job scheduling). Within the Cron scheduler you would invoke the Sitecore CLI publish command using the non-interactive client login (client credentials flow) to execute the publish command. This will decouple the implementation with proper separation of concerns between the scheduling and the content management.
For organisations that use Azure, one implementation option would be to use the Cron Scheduler available within the Azure DevOps publishing pipeline. As there is no actual deployment of code required, it’s important set the pipeline trigger to be the Cron expression (as opposed to an event that is triggered via the repository, such as a git Push). The pipeline conveniently offers the option to define variables that can be used to ensure that the client id and client secret are not exposed via code in the repository. Azure Functions could also be an approach as it supports Cron syntax.
The steps to implement this are as follows - in the spirit of brevity this example does not include details around error handling, logging or retry in the event of failure. Other options are available and can be investigated based on your requirements and setup.
1. Create and Configure a Pipeline
- Use an existing or new Azure DevOps organization and project to host the scheduled publishing pipeline.
- Create a new pipeline connected to your code repository.
- Start with a starter pipeline, then customize it to:
- Include a cron-based schedule
- Run Sitecore CLI publish commands
2. Define a Cron-Based Schedule
- Use YAML to define the schedule using cron syntax.
- Set
always: trueto ensure the pipeline runs regardless of code changes. - Include the necessary publishing steps.
3. Secure Credentials
- Store sensitive values (e.g.,
client ID,client secret,instance URL) as pipeline variables. - For enhanced security in production, consider using Azure Key Vault.
4. Implement Non-Interactive Sitecore Login
- Use the client credentials flow for authenticating via the Sitecore CLI.
- This enables secure, automated login without user interaction.
5. Test and Monitor
- Validate the pipeline configuration.
- Run the pipeline based on your schedule.
- Monitor execution and ensure the CLI triggers publishing to the correct Sitecore path.
Insights
Sitecore Personalize supports personalization in both Server-Side Rendering (SSR) and Static Site Generation (SSG) with some key differences in how content is evaluated and delivered.
Server Side Rendering (SSR)*
- User navigates to a page, the browser sends an HTTP request to the Next.js application, including cookies and HTTP headers that can be used in personalisation conditions. If there are no personalised variants configured for this page or the page is not found, the middleware will exit and page generation will continue as usual.
- The personalisation middleware sends a request to Edge.
- If a page has more than one variant, the middleware sends another API request to the Personalize API to detect if the current visitor matches any of the audiences configured for this page (the cookies and HTTP headers received from the browser will help to identify the visitor).
- Identifying the audience for the current visitor.
- The middleware determines which personalised page variant is suitable for the current visitor.
If the visitor matches an audience configured for the page, the middleware will rewrite the page path to a special personalised variant path and this will instruct the Next.js application to use the specific page variant when rendering the page: the personalised version of the page will be rendered on the server and returned to the browser.
If the visitor does not match any audiences, then the default page variant will be rendered and returned to the user.
Static Site Generation (SSG)
- This step is the same where the browser sends an HTTP request to the Next.js application with cookies and HTTP headers.
- The Personalize middleware checks to see whether there are any pre-rendered page variants for this page. If yes, it skips the API request to Edge, otherwise it will fall back to the standard SSR process and fetch personalised variants for the current page.
- If a page has personalised variants, the middleware sends an API request to the Personalise API to identify visitor's audience.
If there is a match and personalised page variants are pre-generated, the middleware will rewrite the page path and then the appropriate personalised page variant will be chosen and returned to the browser.
If the visitor does not match any audiences, then the default page variant will be returned to the user using the statically generated HTML if it exists.
Related Recipes
Related Documentation
- For recipe suggestions, questions or feedback, please use the form.
- For direct contribution, please create a pull request on the Github repository for review.